A few people have asked about the purpose of this machine and why certain features exist. So I have some explaining to do.
It is interesting to follow the history and evolution of industrial machinery. ( please correct me if I mess up here.) First of all there were archaic tools, these were used to make more and more precise hand tools, which were eventually used to make simple machines. Simple machines were used to make essentially the first drilling machine. drilling machines evolved into the drill press and later the lathe. All sorts of other machines were being designed in other veins. Eventually drill presses evolved into the lathe and the lathe had a sort of vertical crossfeed attached that allowed a person to mill. Drill presses were beefed up and the same crossfeed mechanisms installed to make a milling machine. Milling machines and lathes have evolved exponentially since then primarily in times of extreme need ( Industrial revolution and many wars really helped.)
At this point these machines are very complicated and proprietary, I was at a machinery dealers a few weeks ago who had mills and lathes that you could easily put a car in. I asked him about business and what he generally had difficulty obtaining. He said the biggest issue he has is with proprietary equipment on these machines, to make matters worse he knows that a lot of the parts he is looking at are the same as what are on other machines but he can't buy them for fear of voiding warrantees, losing support etc.
Here's my point:
Yes this machine will be proprietary, but we plan on making everything readily available including the designs and part sources in the hopes that others will be able to obtain them and use them. Furthermore, We hope to use this machine to make other better machines just like old times. As an example, one of my biggest costs was making up the frames ( base and X/Y subframe.) I looked around and it would have been very difficult to get good castings at a good price so we ended up using metal from the hair sorting machine for these parts. When the machine is done i'll be able to route out wooden parts and take them to the caster, have them cast, certain areas ground and be able to provide a part that is +- .0005" rather than the +-.006 that we are struggling to maintain now. This is the difference between a homemade device and a world class machine. The same will be true of almost all components except ball screws, nuts and linear bearings/guides. This will drop my costs by thousands of dollars and allow me to provide them reasonably.
Sorry for the diatribe.
Monday, February 28, 2011
Play and used parts
I didn't get much of a chance to work on the Protobot last week but a lot has happened.
First, I discovered after adding the Z (vertical) axis that I have a little play in the X (side to side) axis. One of the problems with using salvaged material is that stuff like this happens. Fortunately I have better guides but they are a few inches shorter and will require some add'l machining ( which I am doing by hand right now.) No problem.. If the tolerances weren't so tight I wouldn't have worried about it. but .0125" play can add up as well as cause vibration and mechanical feedback issues in the machine itself. I'll be able to use the current X guides for a less precise machine later.
I have a few customers already, but can't talk about either one.. bummer. maybe once I've developed a better relationship with them. The friend I made at the USPTO is evidently using the parts I gave him for his invention so progress is being made on other fronts.

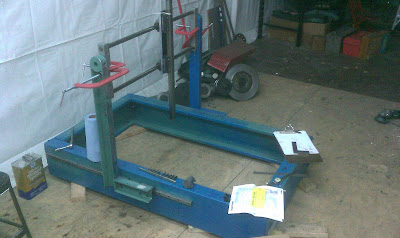
Recent macro shot of machine
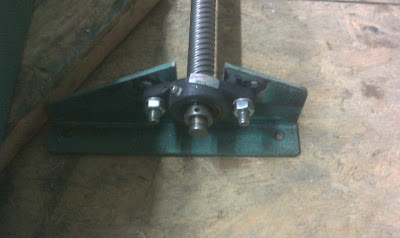
Y axis ball screws being added to machine
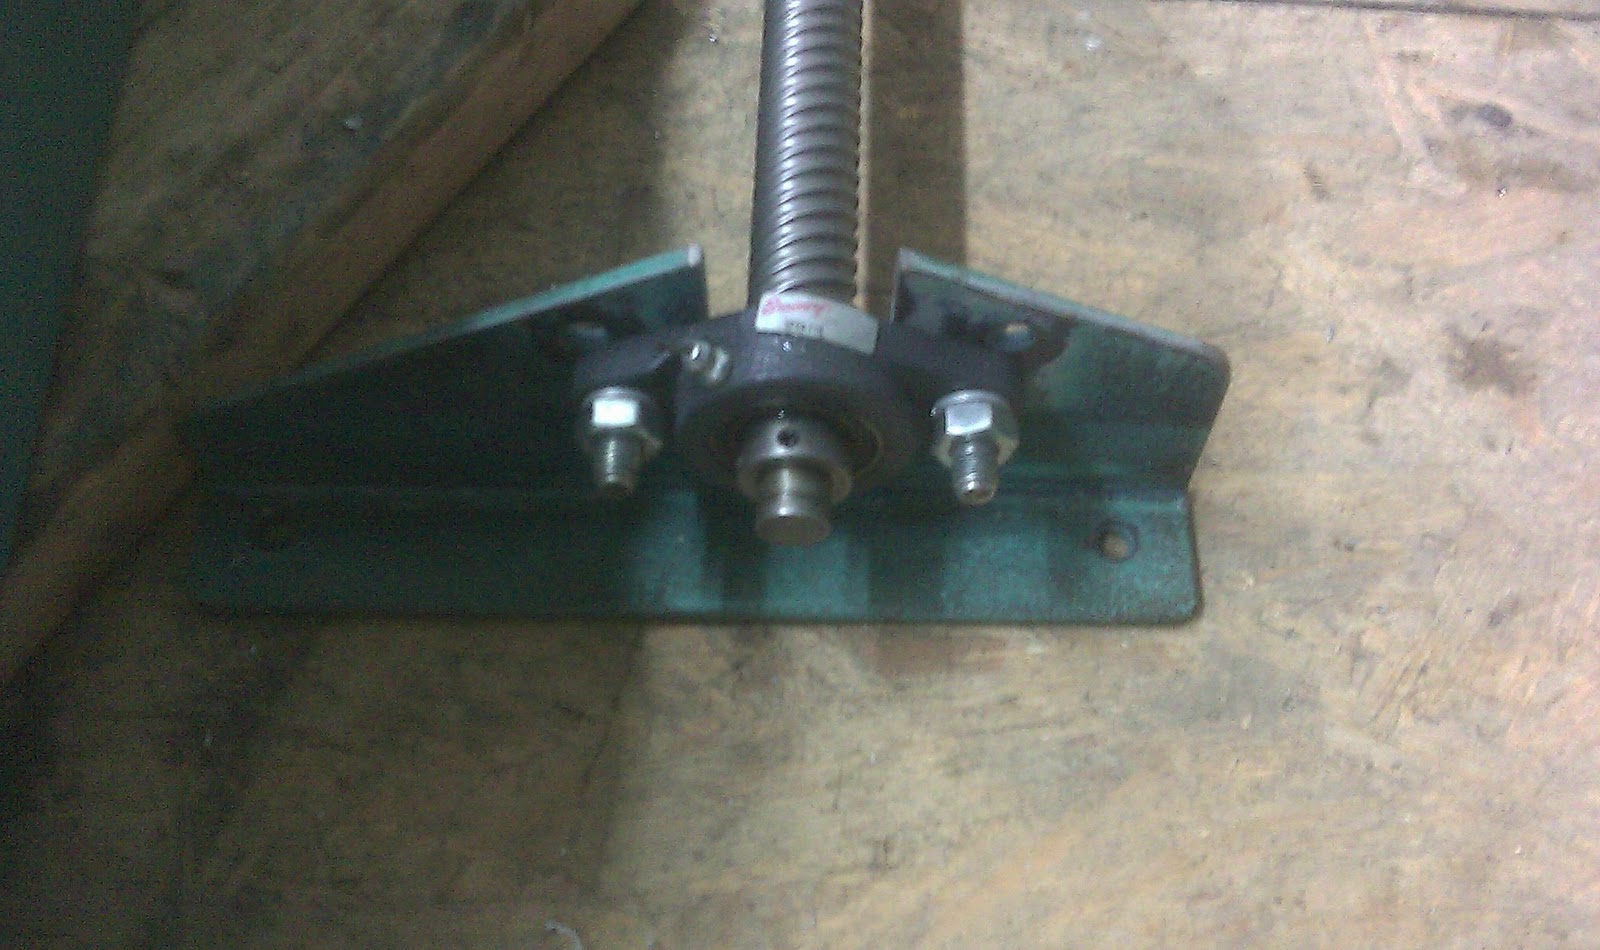
Close up of Y axis screw. I got these on Ebay for $100/pc.
I went to try and get parts and found out they were $600 screws and that it would be cheaper to just get other used ones. Fortunately I was able to rebuild what I had. This is common when re-using material, and the next step is to typically try and source less expensive assemblies. The problem then becomes buying overseas or finding a good source for good, inexpensive stuff in the U.S. I have found several and am working on a list to add to the Protobot Industries page. https://sites.google.com/site/protobotindustries
Sunday, February 13, 2011
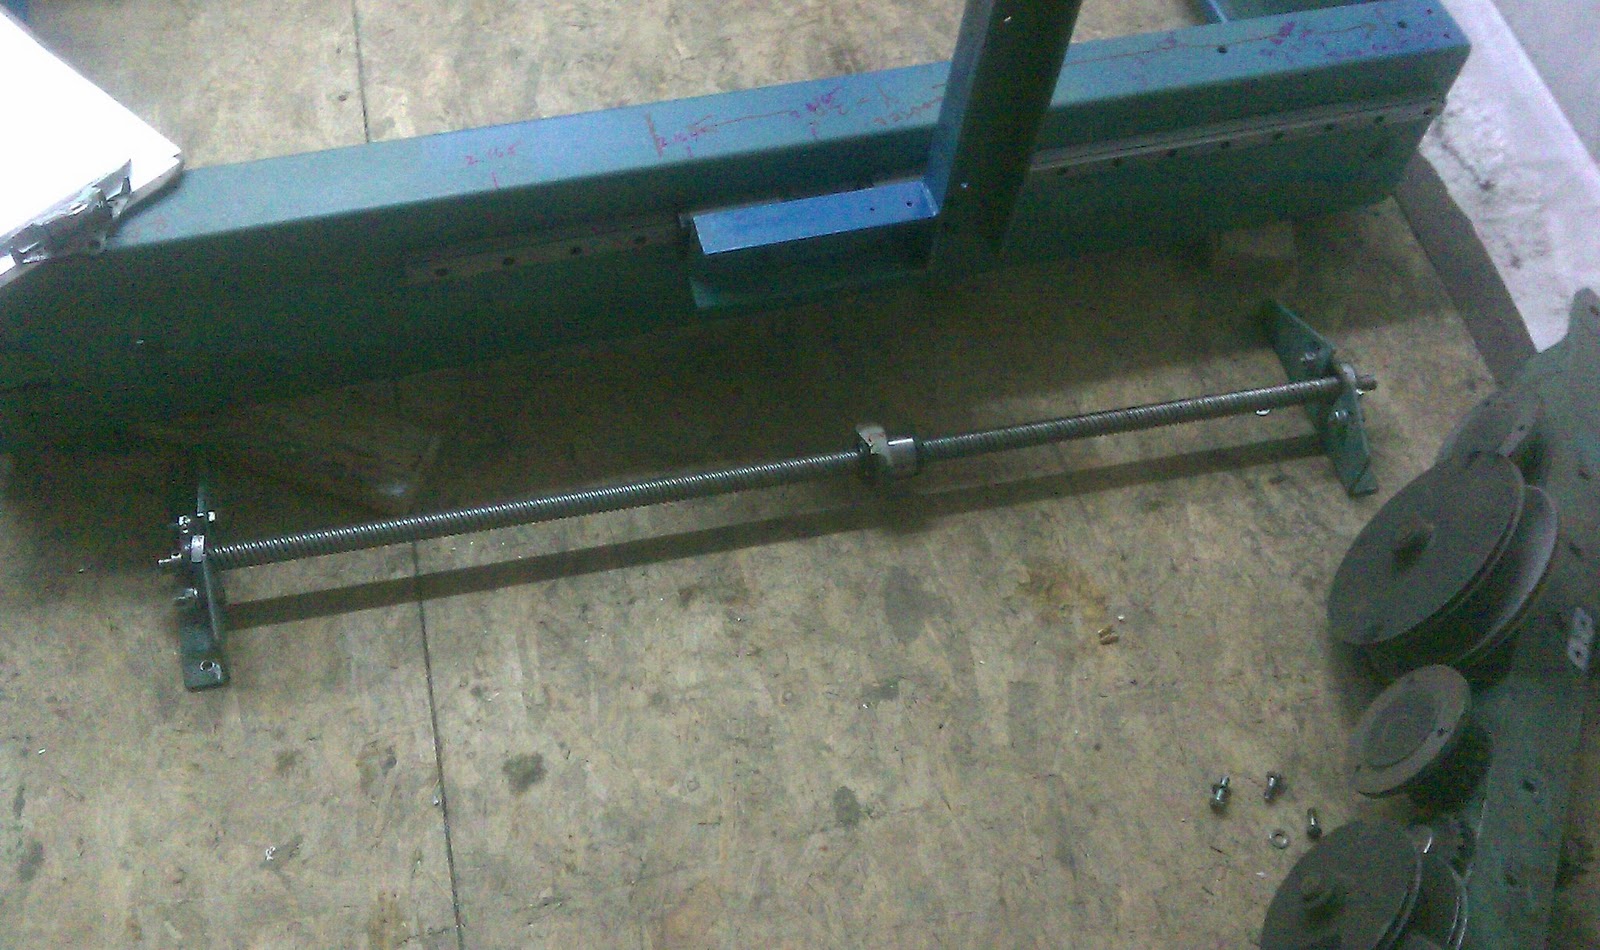
X axis work
I've just started on the X axis and found I needed parts from McMaster Carr. So the parts are on order and I am working on the drive side of the Y axis. It turned out I had some nice angle brackets from the hair blending machine that I could modify a little to work. Pictures follow.
On a side note I've been working on a patent for another idea and had the chance a few months ago to go to the USPTO for a weekend to attend some workshops. I met a lot of people and made some good conections, I also met David Kappos who is the USPTO chief. I have to admit unless they are blowing smoke you know where their set-up seems to be really transparent and straightforward. Most of my questions were answered and I came away feeling like the process was very manageable and that I could do most of the work myself ( an exception being some legal writing) I am now in the process of writing up three provisional applications with the hopes of being able to try and commercialize before committing to the cost of the full blown patent.


On a side note I've been working on a patent for another idea and had the chance a few months ago to go to the USPTO for a weekend to attend some workshops. I met a lot of people and made some good conections, I also met David Kappos who is the USPTO chief. I have to admit unless they are blowing smoke you know where their set-up seems to be really transparent and straightforward. Most of my questions were answered and I came away feeling like the process was very manageable and that I could do most of the work myself ( an exception being some legal writing) I am now in the process of writing up three provisional applications with the hopes of being able to try and commercialize before committing to the cost of the full blown patent.


Adding Y axis
I took a couple of angles sections of steel out of the hair blending machine and used them for uprights. My brother and I had debated on this, he won out on the dual motor design which will give the machine less of a chance of kicking out of square. I won out because I can still take all of the bases out of the machine and really tall parts that are on the ground or install a vacuum base, the scanning bed etc. etc. as I wanted.
Here are a few pics of the base with the Y axis and uprights for the X and Z axis.


Here are a few pics of the base with the Y axis and uprights for the X and Z axis.


Change of plans
I got to looking at the design I had and all the new materials that I received from my landlord and decided to change some things up. The overhead cartesian idea had been born out of a desire to have long continuous square tube supports and minimized flex in any axis. The machine I took apart did not have long tube peices and I didn't feel like buying any because I had so much other stuff just laying around. Hence a new design ( no drawings.)
Here are some more recent photos


Here are some more recent photos


The idea
The main idea with this machine and what will set it apart from others is that it is basically a universal cartesian prototyping machine. All modules on the machine run on basic G-code and several of them attach to other modules. For example the Router not only routes but can do light milling with the speed turned down and a fixture plate slipped into the base. Putting the 3D scanning bed in the base, attaching the camera, turning the laser on and running certain code allows it to scan in 3D with David 3D scanner software. Putting a stencil cutter fixture in the router collet allows it to cut vinyl or paper, etc. On one end of the machine the rapid prototyping module rests while not in use but can be used in the same envelope for printing, pick and place operations etc. The other reason for separating the Rep Rap based prototyper is that it has been designed for lightness and speed while the larger module is designed for cutting at slower speeds ( still pretty fast) in heavier materials up to and including light iron and steel.


I bought a lot of parts on Ebay over the last year and generally saved for other material. I decided to lease the space with my wife and kids and sort of split it up between clean and dirty areas. We had to frame out space into a large existing multilevel warehouse.
We scored big time in other ways by leasing the space. The owner of the building co-owns a hair blending company that makes custom blends for brooms, brushes, etc. and happened to be getting rid of some old machines. These machines contained a plethura of 80/20 aluminum, PLC's, linear motion components, motors, gears, pneumatic devices and controls etc. I was able to augment and drastically improve the machine by using these materials.
Here are some photos of the raw material


Subscribe to:
Posts (Atom)